Raspberry Pi Laptop Version 2
Some time after the first iteration of the Raspberry Pi Laptop, the Raspberry Pi Foundation suddenly released the Raspberry Pi 2, a backwards compatible quad-core upgrade to the original Raspberry Pi. I knew, just by the specs alone, I had to get one and use it as part of my lapdock setup. I believed it would solve all the issues I had with the original RPi model B. See below for the final build and read on for how it came together.
Sourcing Parts
First things first, I had to look into the power consumption of the new devices. I figured that with a quad core processor and more ram it had to be consuming more power. A bit of google-fu and a few links from my brother I was able to find a great article which details out everything I needed to know. Thanks to the wonderful re-engineering of the built-in PSU they were actually able to LOWER the power consumption of the newest revision (when compared to my original RPi B). With this in mind, I sourced it from Element 14 day of release and purchased as quickly as I could since stock was being snapped up. A short time later, the beautiful new Raspberry Pi 2 arrived at my doorstep.
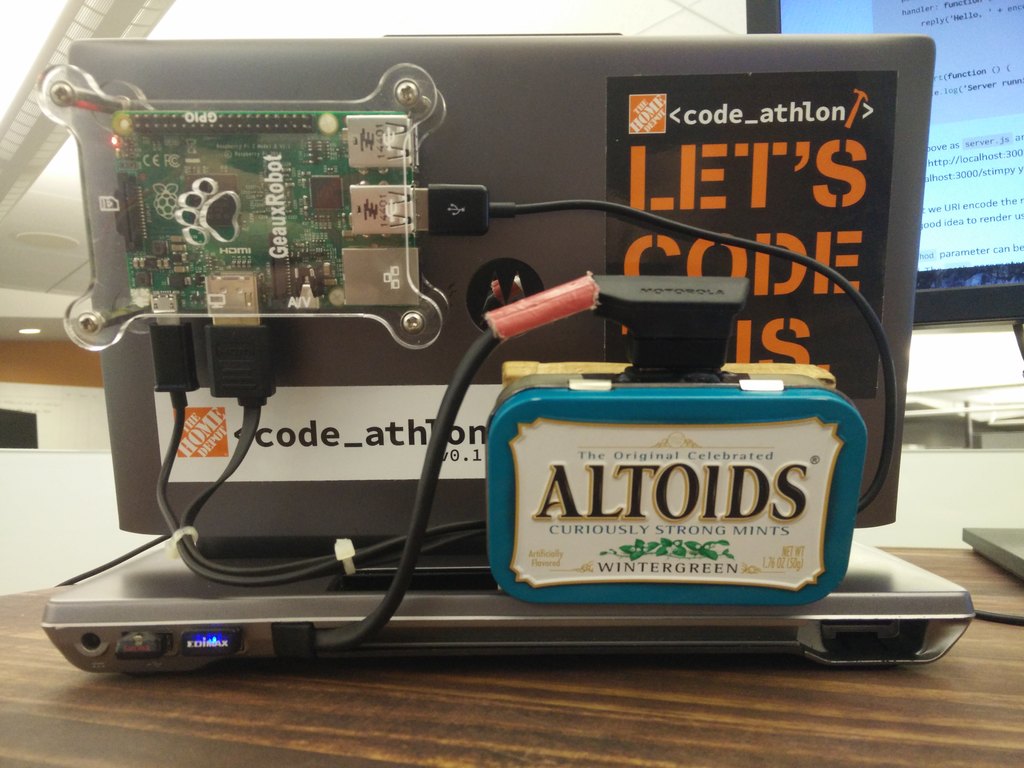
Building
Given my inability to go slow when getting something new, I ripped the new packaging open and started assembling. I knew from research that back-powering would not work anymore due to protections introduced in the RPi model B+ USB layout. That was fine, I can always just re-create the Y-cable I made during my first iteration. I reluctantly set aside the new hardware and headed down to the basement for more Shoddy Soldering™. A short time and two attempts later I came out with a newer, less shoddy version of the original Y cable I made during my first iteration. It worked, the pi booted, and I had a running system again. Except wait… What is that rainbow square thing in the top right corner?
Turns out that in the redesign of the RPi B+ they introduced an undervoltage warning which would display on the screen if the RPi received below 4.65V. Apparently, my little lapdock has been undervolting the raspberry pi since day one and I just didn’t know it. It does explain one occurrence of SD card corruption I experienced (combined with having overclocked the original RPi B). I figured since the original ran so well even with the un-known under-voltage it received and the fact that the new model uses less energy I would just live with it and see if I experienced any issues. It is currently 3 months into the new build and so far I have not seen any noticeable issues in the build.
Impressions
Minus the rainbow square I mentioned above (which I know I can turn off if I cared to) the new Raspberry Pi 2 is like night and day as a desktop operating system. The quad-core processor and double the ram makes the machine feel more responsive than I have ever felt it be. I am now able to use Chromium directly rather than a special made browser. I am able to load up any website, including youtube (albeit on 360p video) and watch random videos. I am even able to solidly use the Cloud9 web based IDE inside chrome on the RPi (I wrote this site and write every post with Cloud9). I think that finally, with the Raspberry Pi 2, the platform has become a solid contender for a desktop replacement. Sure, I can’t load up steam and play my library of games, but it does just about everything else I need.
Coming soon I will be going to New York City for an extended period of time (hopefully) and I plan on using this setup as my primary rig. I should be writing about my experiences on here soon.